
If you run a service business, you already produce some of the best marketing content every single week. The problem is that most of it gets finished, invoiced and forgotten about before a single photo is taken.
This guide helps you fix that. Not with fancy kit, your phone is genuinely all you need, but with a handful of habits: what to capture, how to make it look good, and how to do it in a couple of minutes per job without it getting in the way.
When someone on the island is choosing between you and another quote, they will look you up. And when they do, they're not reading your bio. They're looking at pictures of your work, because that's the fastest way to answer the only question they care about: "Are they any good?"
The numbers on this are hard to argue with:
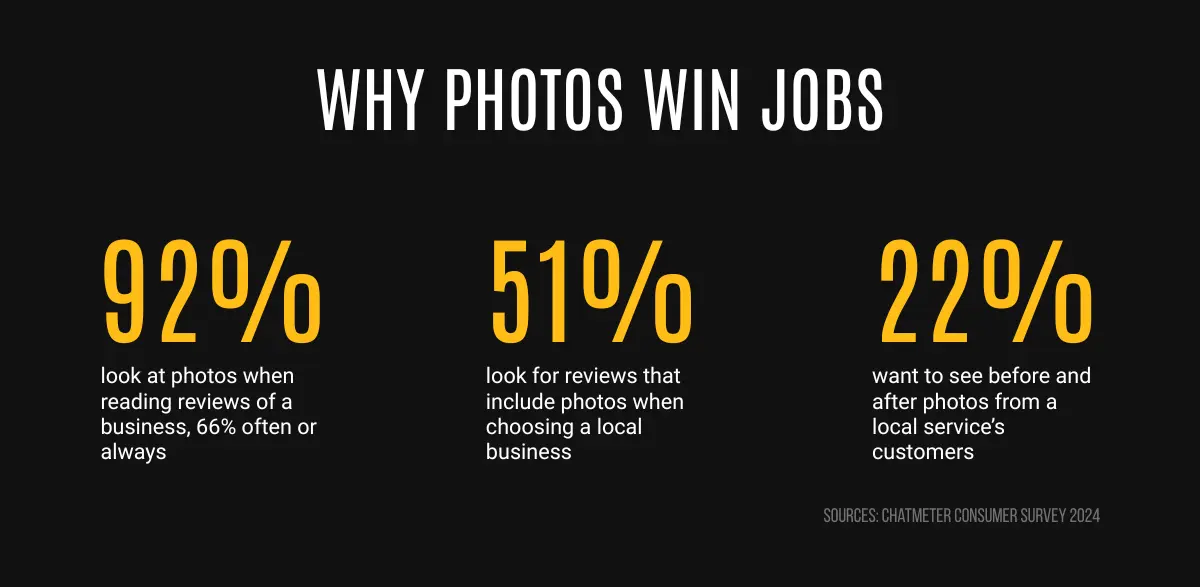
There's a bonus effect too. Google has said that business profiles with photos get noticeably more direction requests and website clicks than profiles without. That figure is from a few years back now, but the pattern hasn't changed: listings with photos get more action than bare ones.
So every decent photo you take does two jobs. It gives you something to post, and it makes your Google profile and your pages look alive.
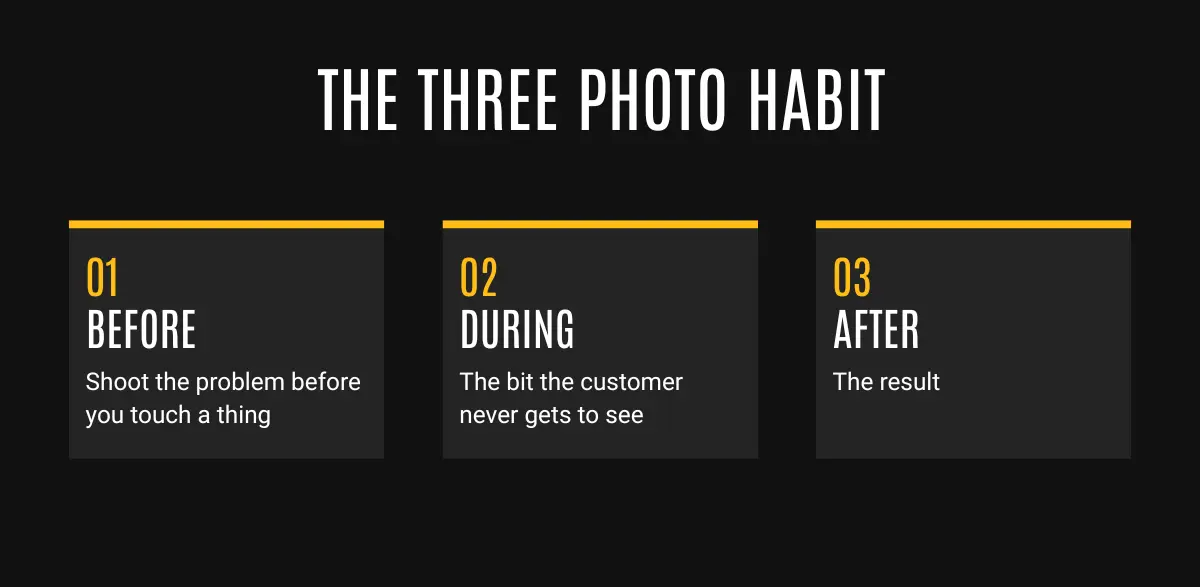
The most important habit to get into is to take photos at three points on every job. Before you start, partway through, and when it's finished.
The before photo is the one everyone forgets, and it's arguably the most valuable of the three. You can't go back and take it later, so make it the first thing you do when you start.
One final tip: Natural lighting will change by the hour, so if a shot looks flat and grey when you finish, and you're passing the location the next morning anyway, take the final photo then. A sunny after photo can look like a different job.
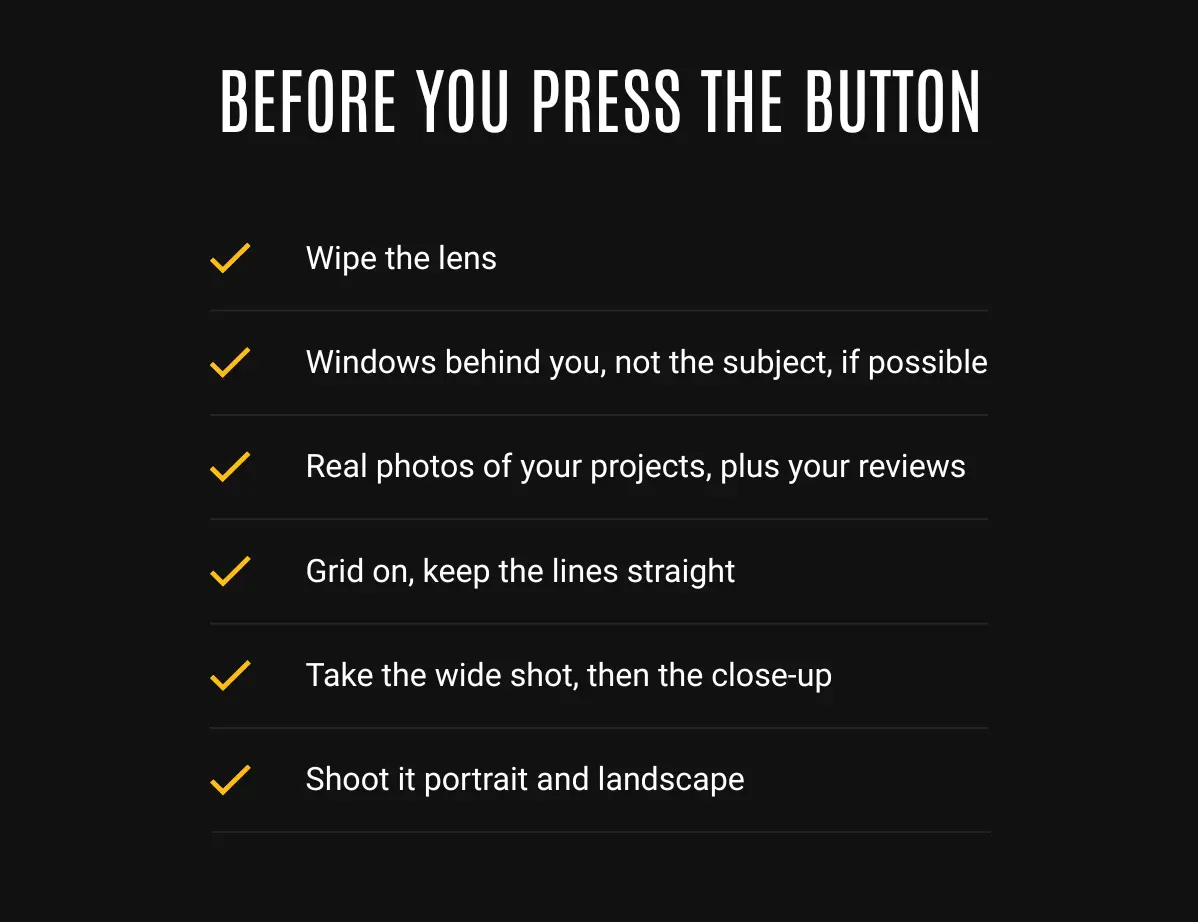
Before and afters are the single most convincing thing a service business can post, but they hit so much harder when the two photos match. The trick is to take them from the same spot, at the same height, pointing the same way.
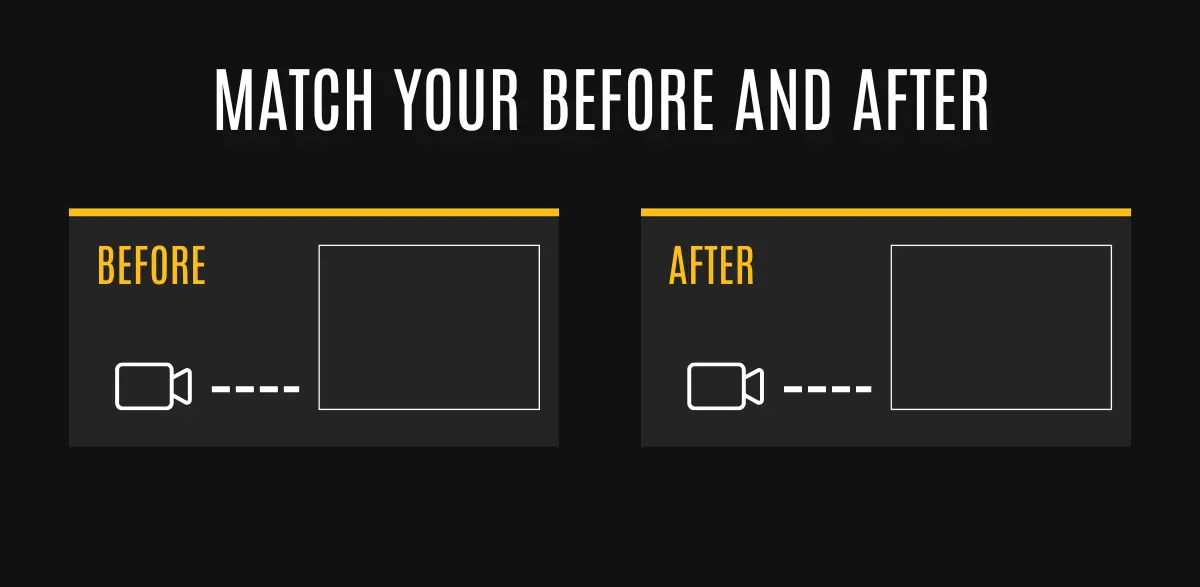
Easiest way to do that: when you take the before photo, take a second one of exactly where you're standing. When the work's done, stand in the same place and shoot again. The closer the two frames match, the more dramatic the change looks, because the only thing that's different is your work.
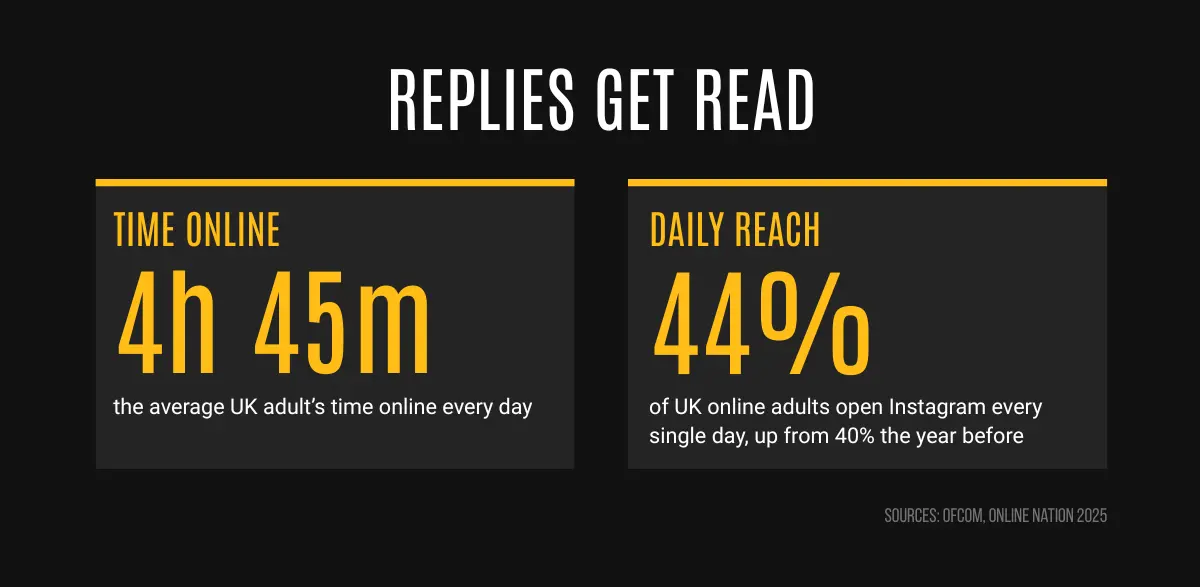
The average adult now spends a serious chunk of every day online, and the short clips on Facebook and Instagram are a huge part of it.
You do not need to edit anything, talk to camera, or become a videographer. Keep it stupidly simple:
A nice starter formula: film five seconds of the before, five seconds mid-job, and a slow ten-second walkthrough of the after. That's a before-and-after Reel, filmed in twenty seconds across the whole job, and it's exactly the format that travels furthest for trades pages.
Once your camera roll is filling up, you've got the raw material for months of posts. The next job is turning them into posts that actually bring enquiries in, what to say, how to say it, and what to ask people to do, and that's a guide of its own that's coming next.
If you haven't set up your pages yet, start with our Getting started with social media guide. And if you'd rather be on the tools while someone else does the posting, that is, quite literally, what we do all day. But with a phone, two minutes a job and the habits above, you can absolutely do this yourself.
If you're wondering what to pair with your new creatives, our writing posts that get enquiries guide is next.
.png)